"How To Replace The Bellows In Your Pelton Crane Sterlizer"
You Can Repair It Yourself
And Save A Lot Of Money On Repair Costs
| Pelton Crane Bellows Kit |
Pelton Crane Preventative Mainentance Kit |
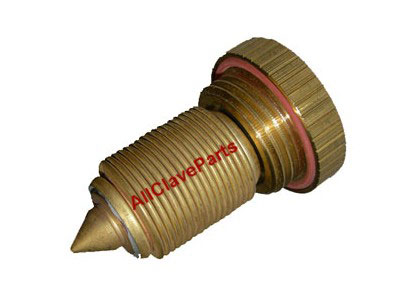
OCM BELLOWS KIT
Includes: Bellows, Bellows Cap, & Air Valve O-ring. All parts are also sold separately. For annual PM of
sterilizer or as needed Model(s). Included In The PM Kit
|
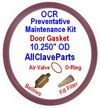
STERILIZER PM KIT
Includes: Door Gasket, Filter Fill Line, Air Valve O-ring, & Bellows
All parts are also sold separately
For annual PM of sterilizer or as needed
|
To change the Bellows in your Pelton Crane Autoclave you must first locate it. The bellows is located on the rear left side
of the unit and is connected to your reservoir. It is housed in a brass cap (approximately 1 inch in diameter
which makes it easy to find. There should be a cut-out in the cabinet exposing the Bellows, but if you have an older
unit and cannot see the Bellows, you will need to remove the cabinet.
To remove the cabinet, remove the cabinet screws on both sides and the rear of the autoclave. Once removed, pick up
the rear of the cabinet & slide it forward (there is a 1/2 inch lip on the front of the unit that has to be cleared before
you can remove it.
Unscrew the brass Bellows cap by turning it counter-clockwise. If it has been on there for quite a while, you may need
to use pliers to start it. Be careful to make sure the pliers are on the brass cap only and not the bellows housing.
Once started, you can remove it the rest of the way by hand.
We recommend replacing the entire Bellows assembly including the Back cap. Simply take the bellows kit and screw it into
the housing where you removed the old one.
|